
Parts Included:
- Pressure Gauge with push fit connector
- Oil line
- Heat protector sleeve
- 5/16" UNC Oil feed adapter bolt
- Push fit oil line connector
- Gauge Bracket and rubber handlebar clamp.
Instructions:
Mount the Gauge
Attach the gauge to the handlebars using the provided rubber clamp, nut, and bolt. You can choose the mounting position, but we recommend placing it just outside the left handlebar P-Clamp so it aligns neatly with the other gauges.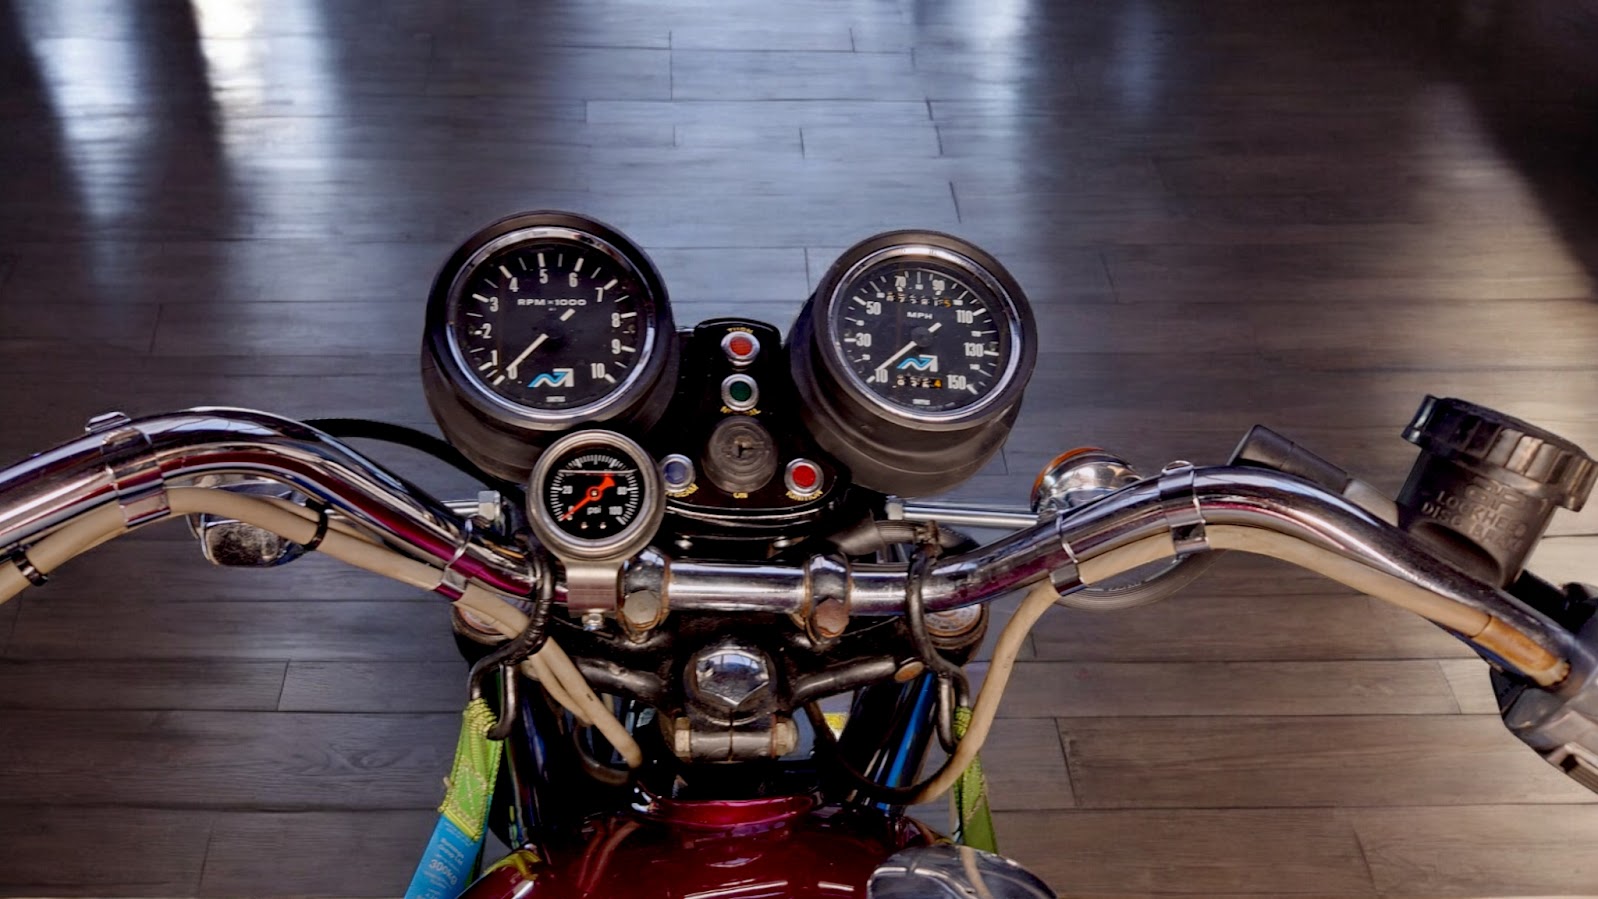
Replace the Crankcase Bolt
Locate the 5/16” UNC bolt on the right-hand front side of the crankcase. Remove this bolt and replace it with the included 5/16” UNC adapter bolt, which already has the oil line push-fit fitting attached.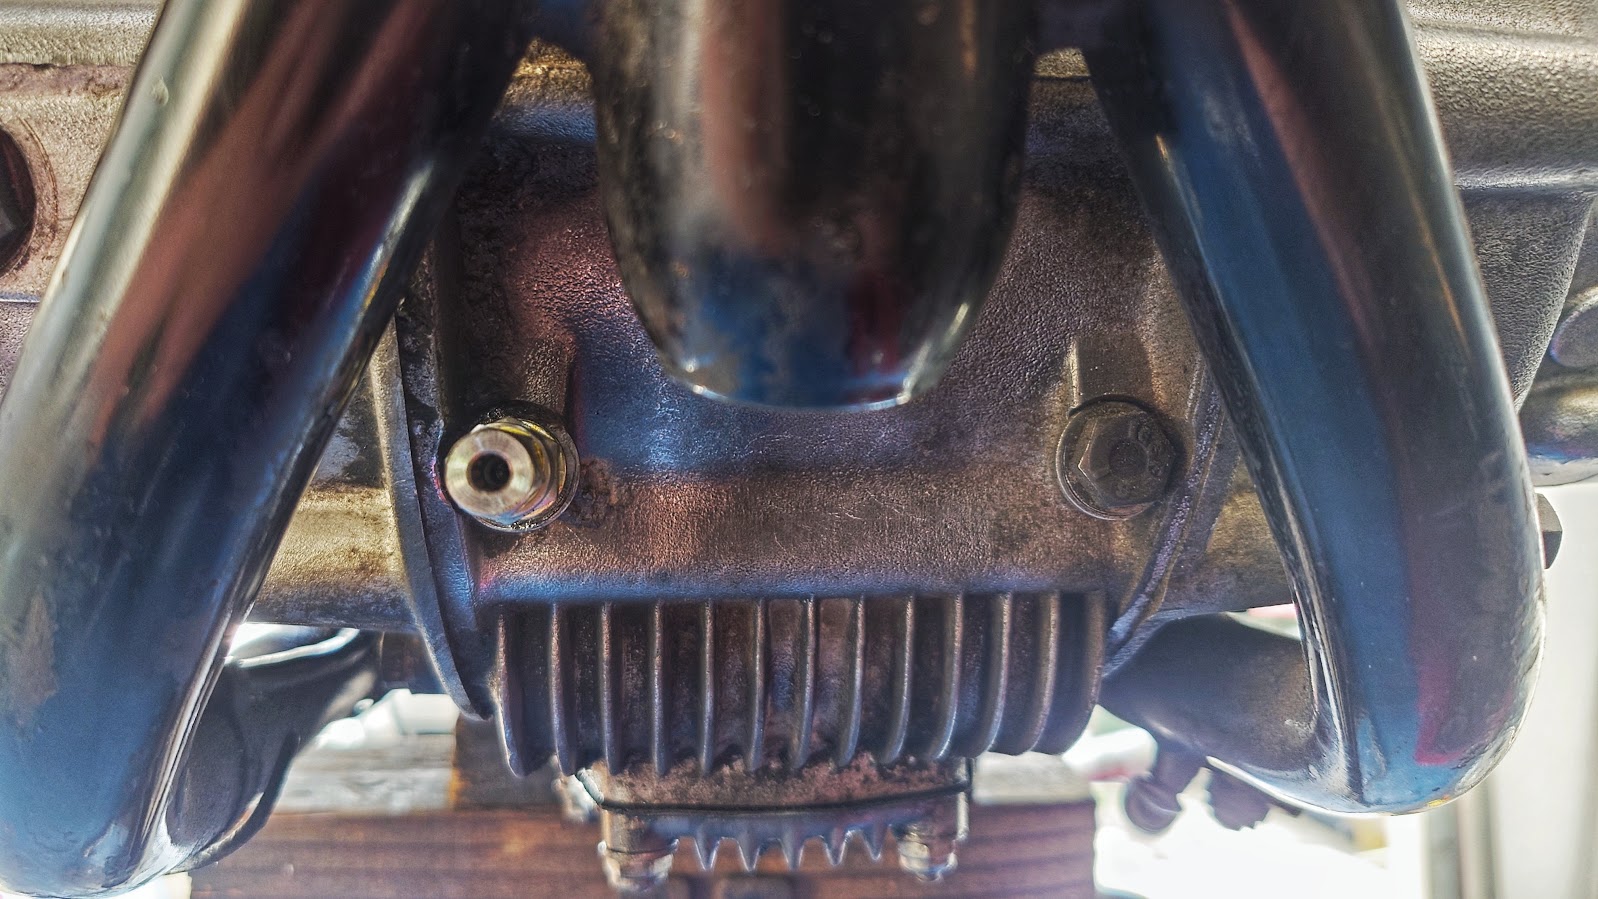
Install the Oil Feed Line
Push the 4mm oil feed line into the fitting on the adapter bolt as far as it will go. You may hear a click when it’s fully seated. Gently pull on the line to confirm it is secure.
Run the Oil Feed Line
Route the 4mm oil feed line from the adapter to the gauge, ideally following the downtube. Allow enough slack to accommodate the handlebars' full range of motion. Trim the line to the desired length, ensuring it’s fully inserted at both ends.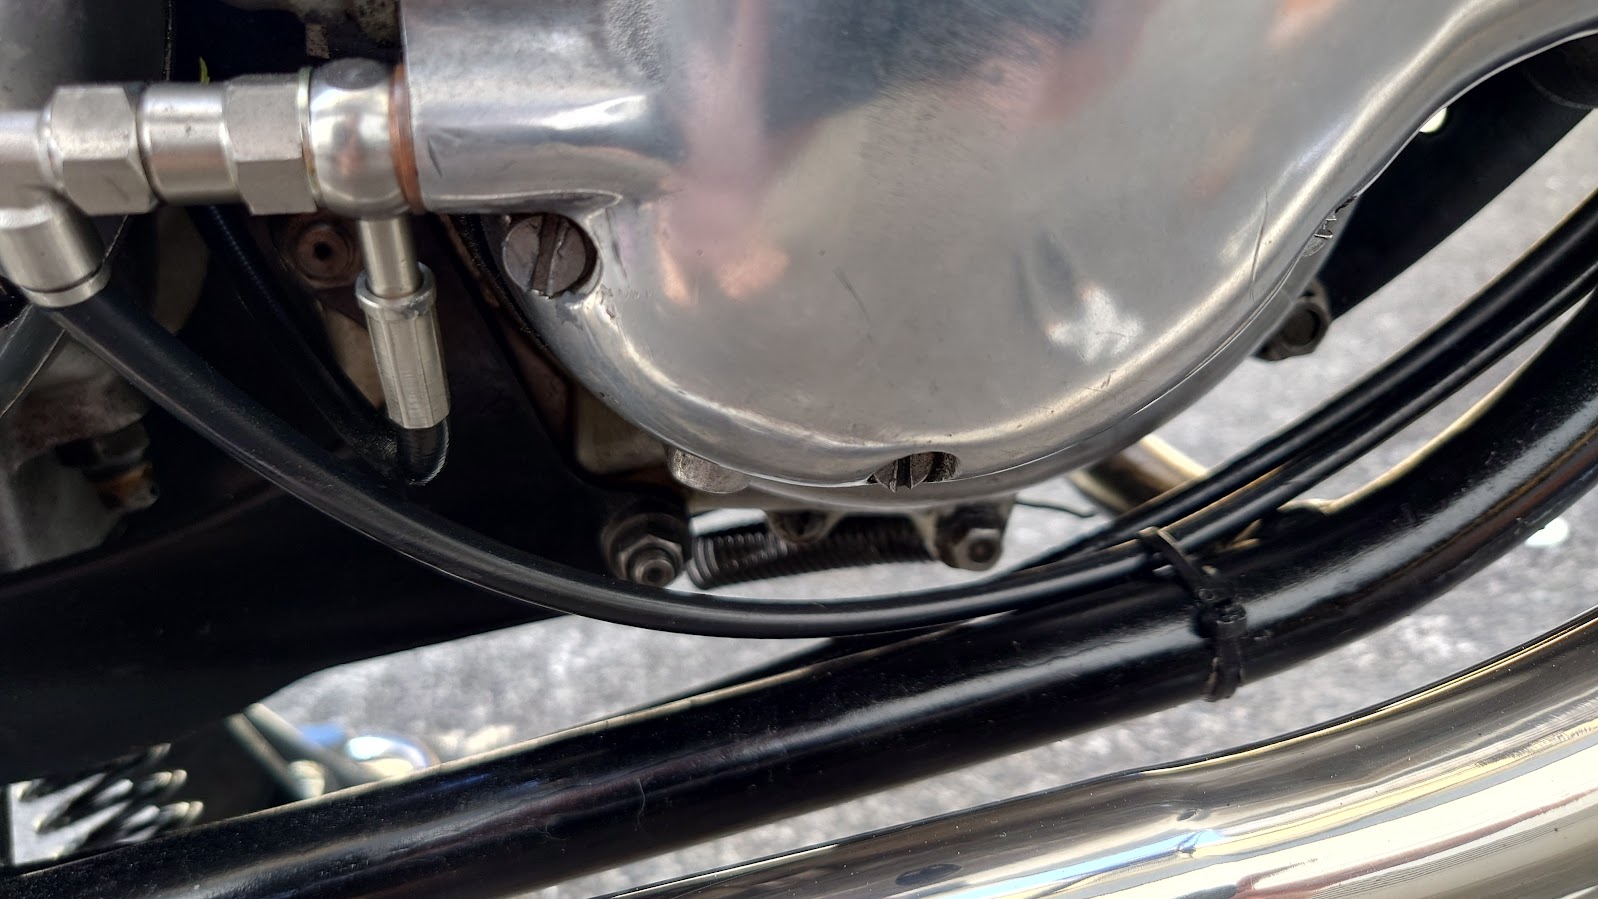
Heat Protection for the Oil Line
Disconnect the oil feed line and slide the PTE heat-resistant hose over it, covering the section from the fitting near the crankcase up to just below the headstock. This prevents heat damage from the exhaust pipes.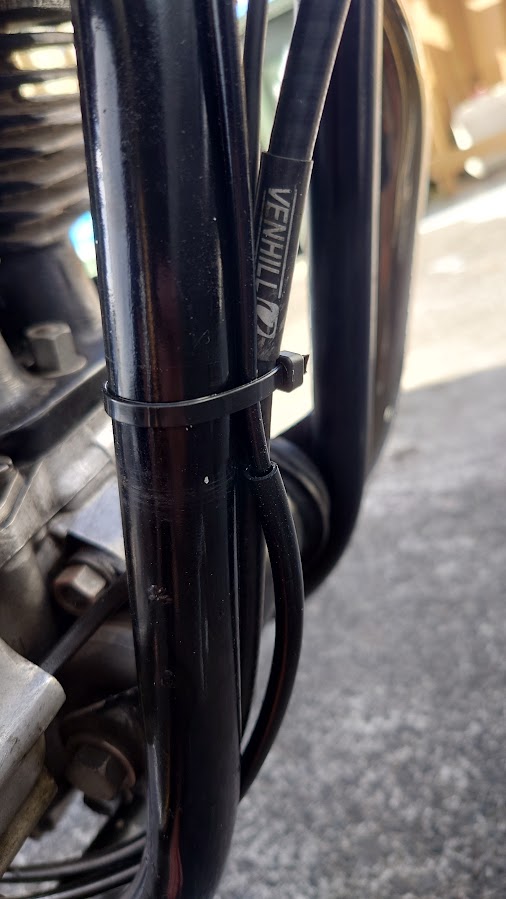
Secure the Oil Line
Use cable ties to loosely attach the oil line to the frame. Double-check that it’s firmly connected at both the adapter fitting and the gauge.
Check for Leaks
After securing all components, start the engine and inspect for oil leaks. Tighten connections or reseat hoses as needed. Once everything checks out, take the bike on a short test ride to monitor oil pressure and ensure no leaks develop.
Other Notes:
- The air bubble in the gauge is normal, it allows the oil on the inside to expand.